5 Best Cake Decorating Tips for Success
May 15, 2017 | By Jeremy Scheck | Leave a Comment


I’m not a cake decorating expert, and I’m not usually good at such careful activities; however with practice, I’ve learned what works for me and what doesn’t when it comes to cake decorating. I think you’ll find all of these tips helpful the next time you frost a cake!
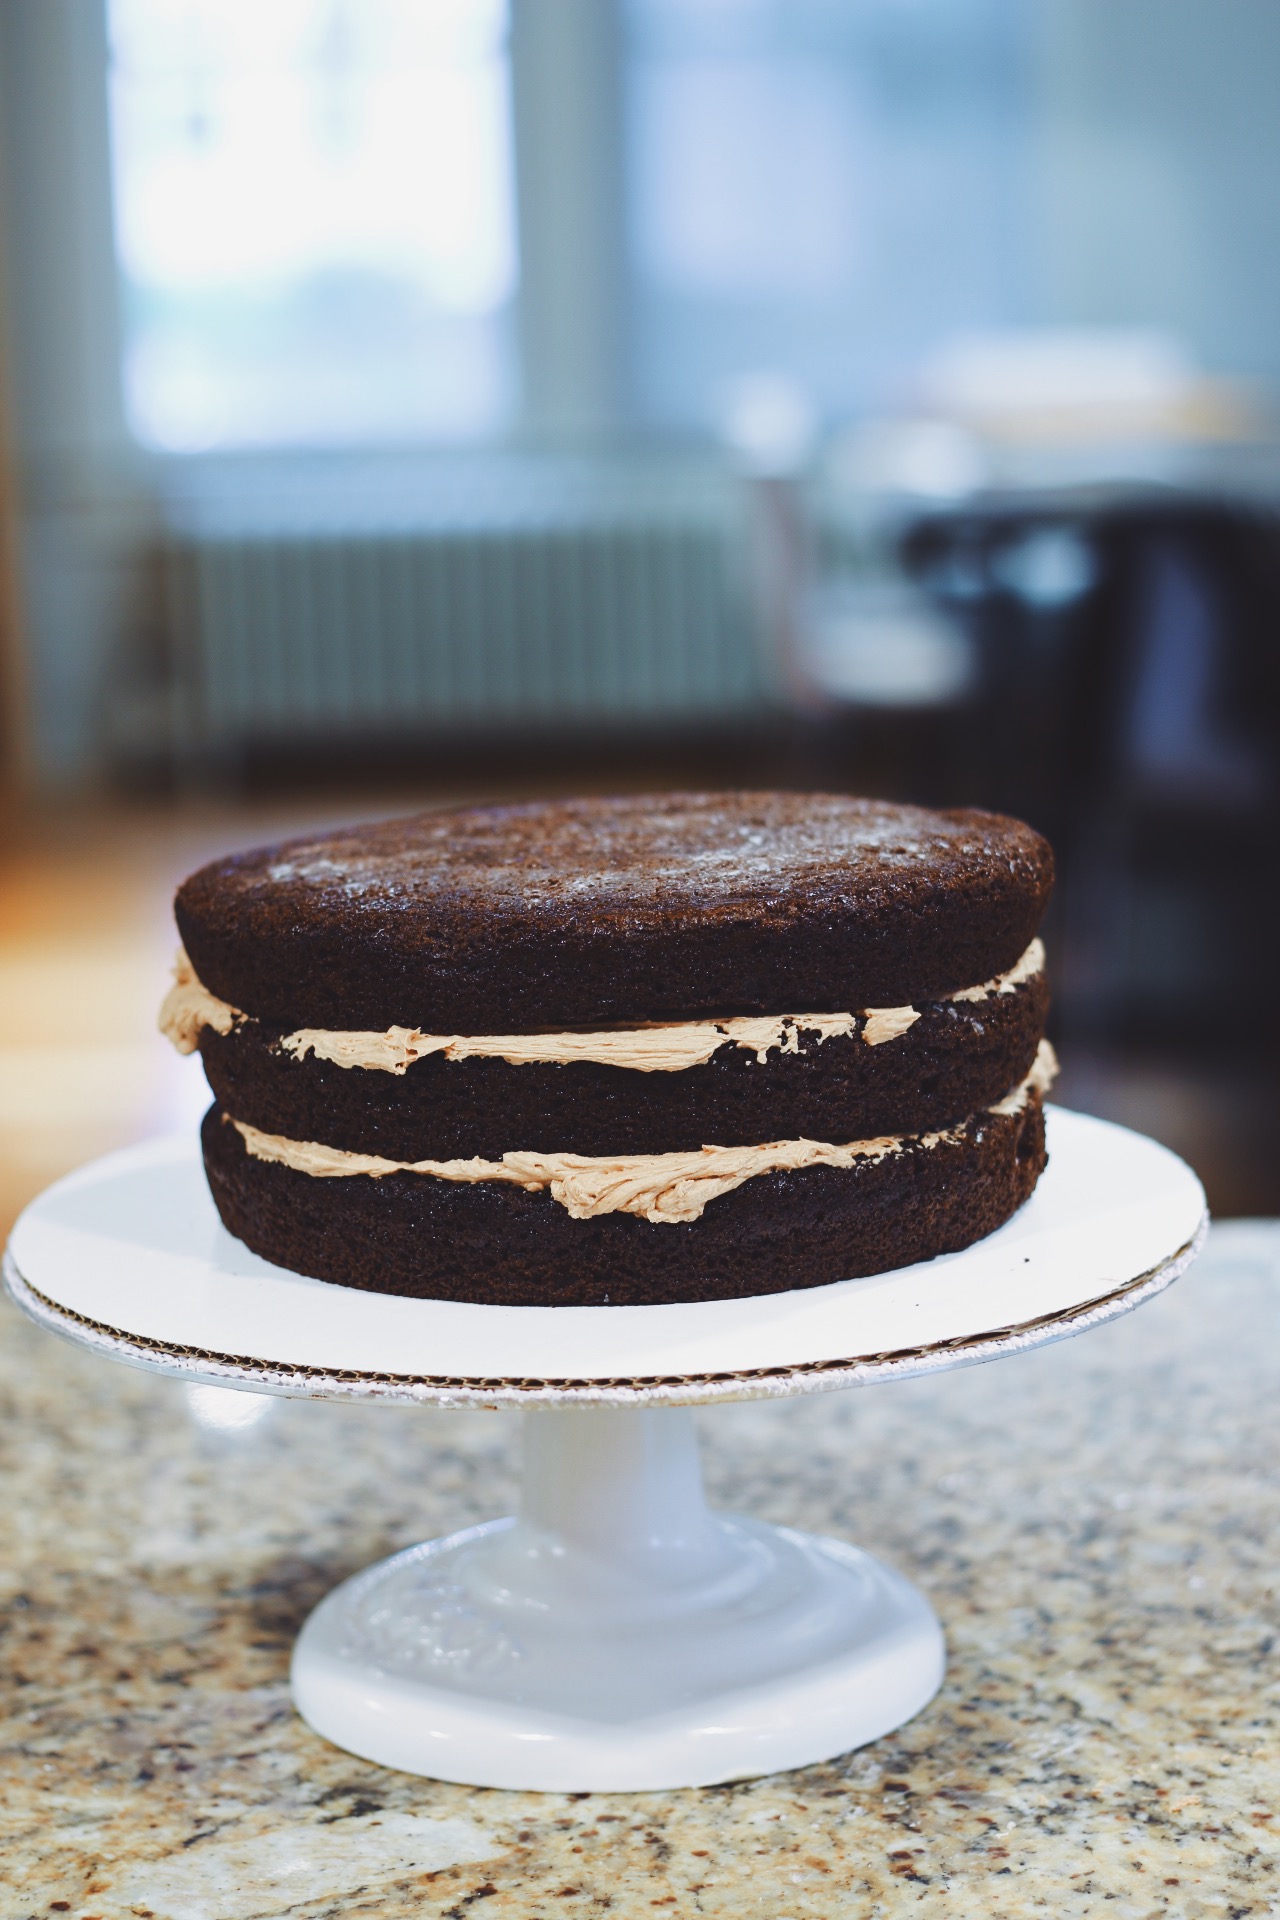
1. Make Cake Decorating a Two Day Process. After baking and cooling your cake layers, wrap them in plastic wrap and freeze them overnight or until you want to decorate the cakes. You can keep them well-wrapped in the freezer at least two weeks! Freezing cake layers not only helps to keep your cakes moist, but cold cakes are also much easier to handle and decorate. In addition, it’s much less labor-intensive to divide the work and the cleaning across two days.
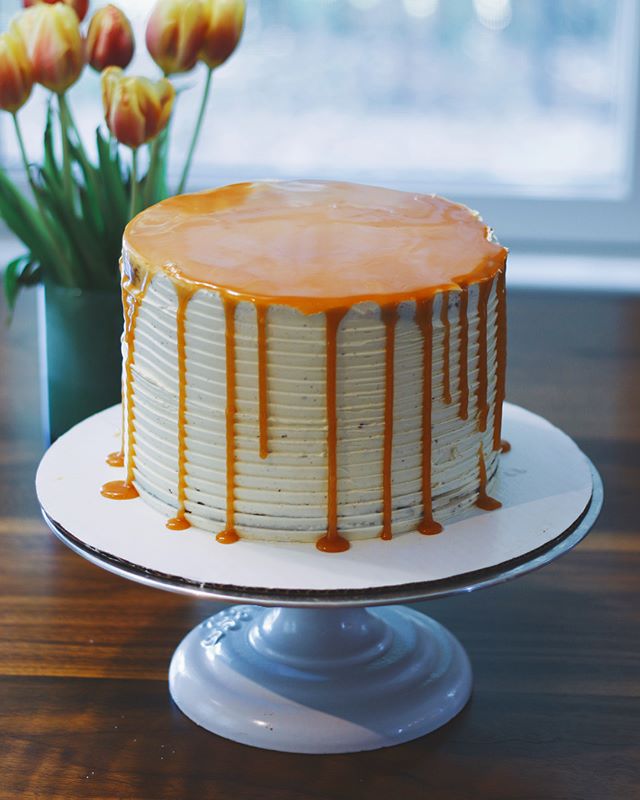
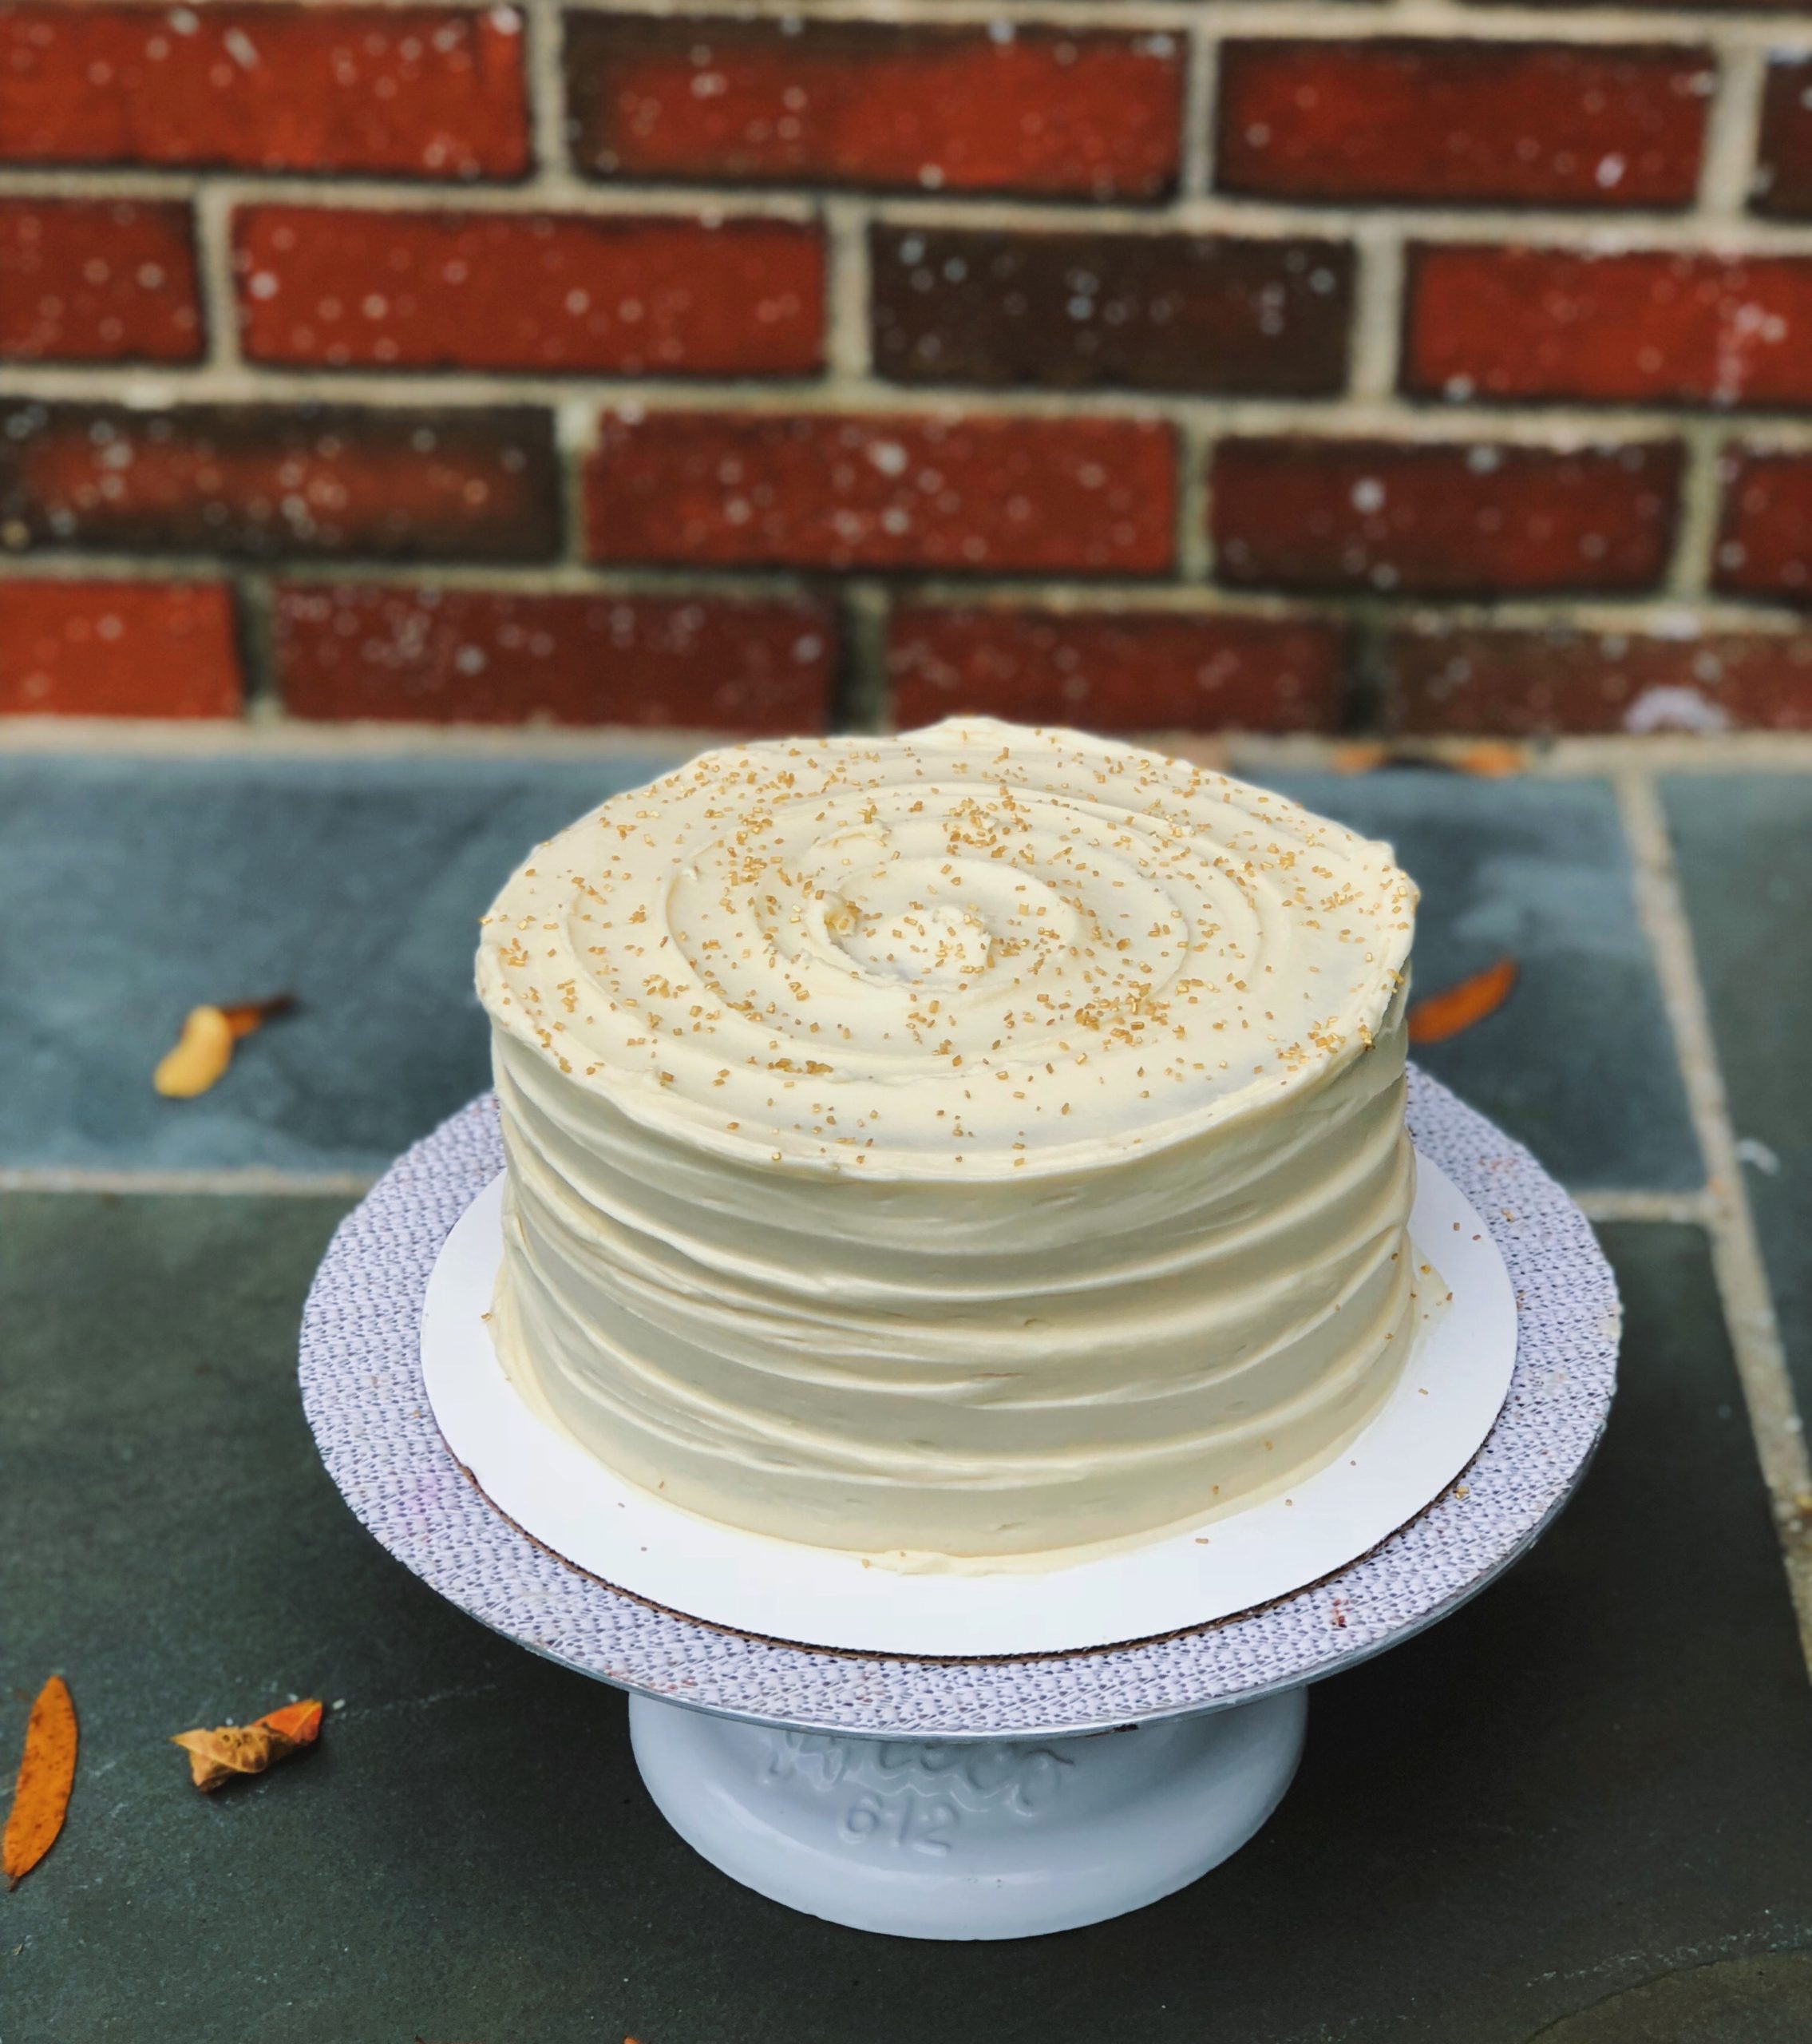
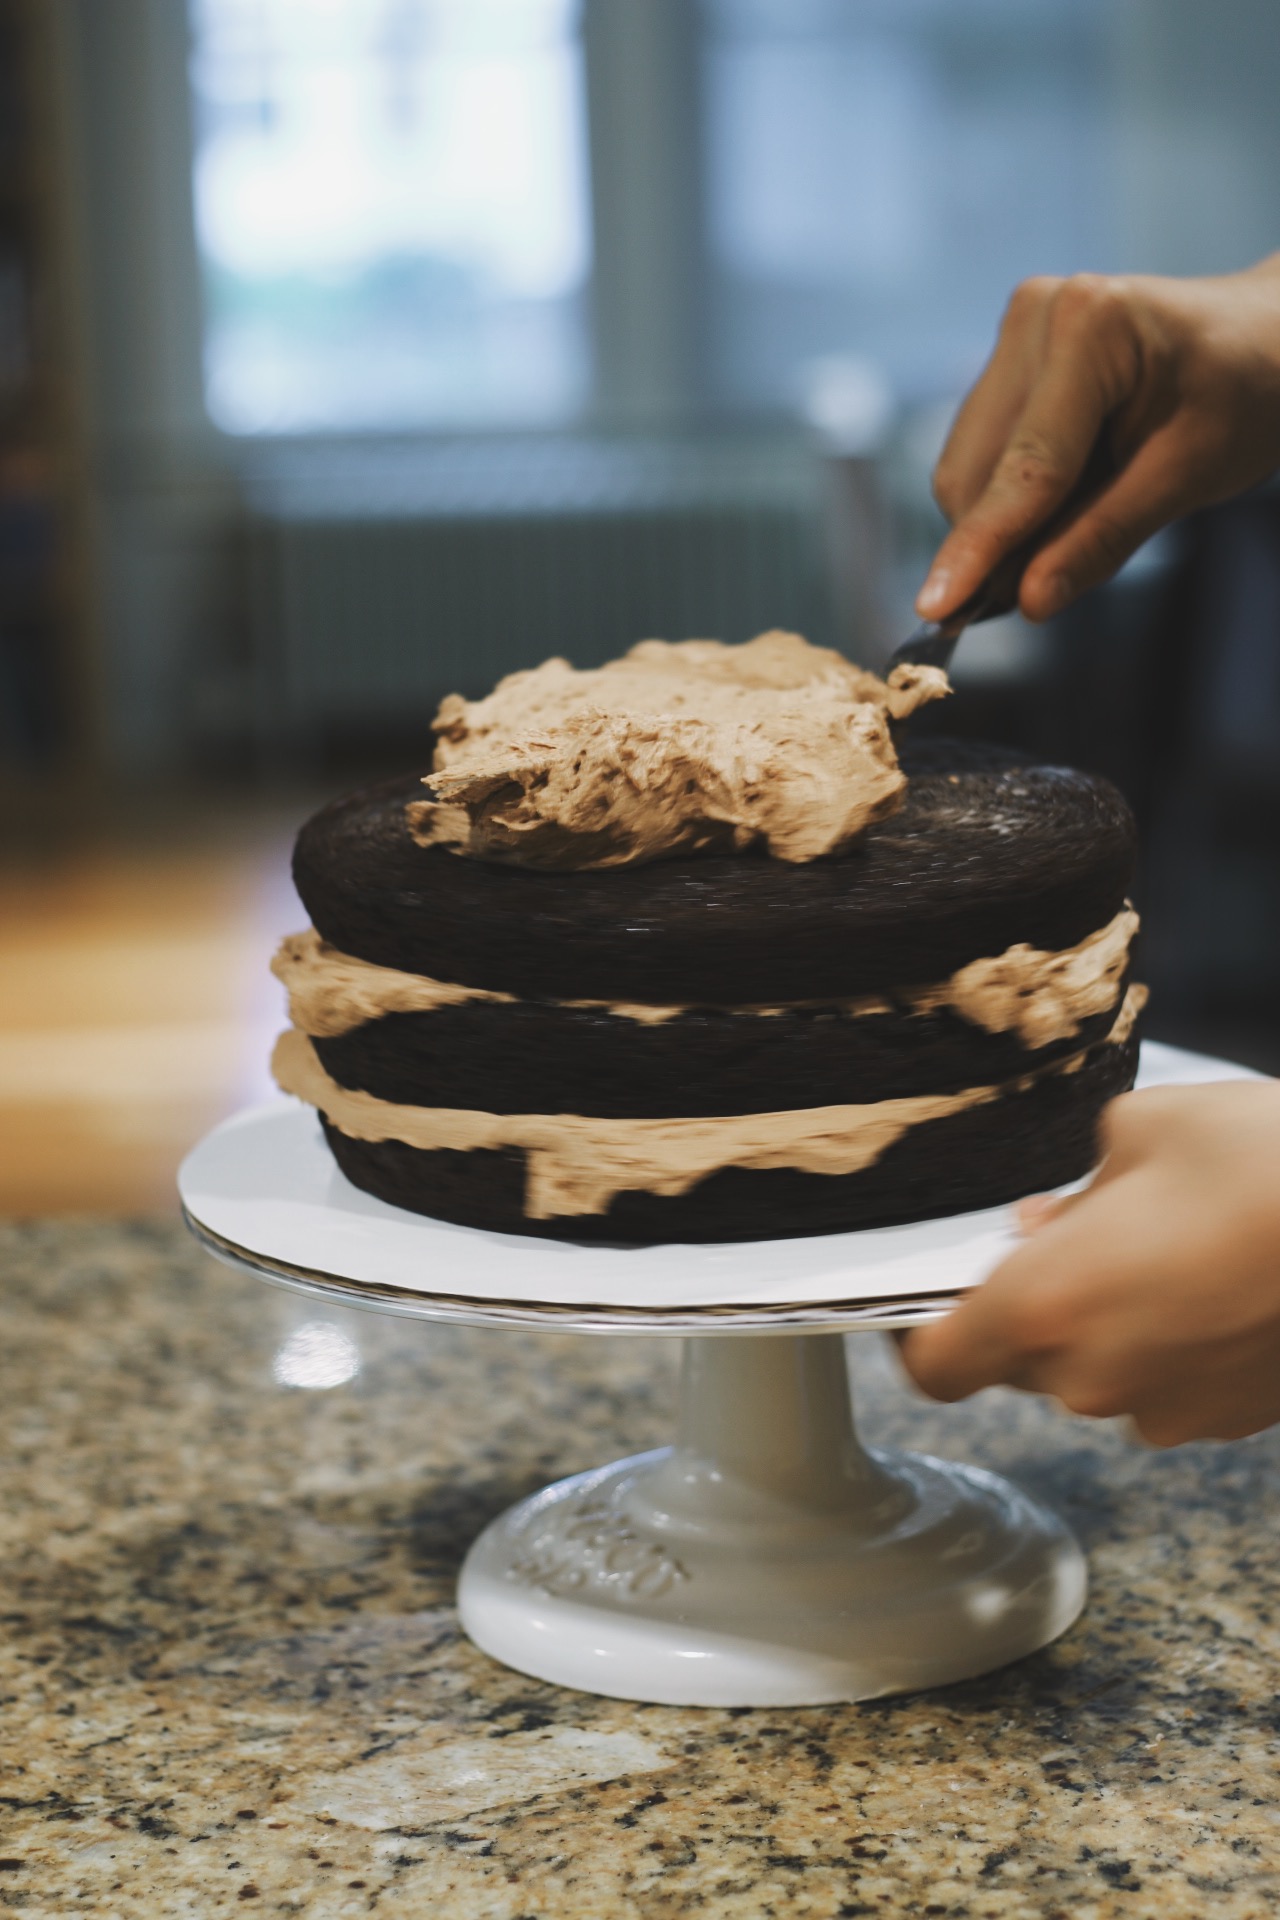
2. Invest in the Right Tools. If you want your cakes to come out looking really clean, a butter knife just won’t cut it. If your cake layers come out of the oven very domed, a serrated bread knife is great for leveling the top of cakes. Leveling cakes ensures that they stack neatly and don’t have weird indentations in between the layers. The other tools I always use when I’m decorating a cake are a small offset spatula,medium offset spatula, metal bench/cake scraper, cardboard cake round, and a rotating cake stand. Linked are the products that I own and can vouch for. The offset spatulas are great for spreading frosting without your arm getting in the way. The bench scraper and rotating cake stand are the only way you can get really smooth edges. You hold the bench scraper with one hand (I prefer my non-dominant) straight up-and-down at a 90° angle with the surface of the cake board while turning the cake stand with the other hand and removing excess frosting. The cardboard cake boards make the cakes really easy to transport. I buy them for less than a dollar each at my local cake store. I usually get a board 2-3 inches wider in diameter than my cake pans.
3. Use a thin-consistency frosting. A light, fluffier frosting will much easier to spread. You want it thin enough to spread nicely but thick enough to hold its shape when held vertically (like it will be on the cake). Use either my American buttercream (beating a few optional tbsp of cream or milk) or my Swiss meringue buttercream recipe. A lighter, softer consistency buttercream is better because it is much easier to spread on your cake without pulling up crumbs.
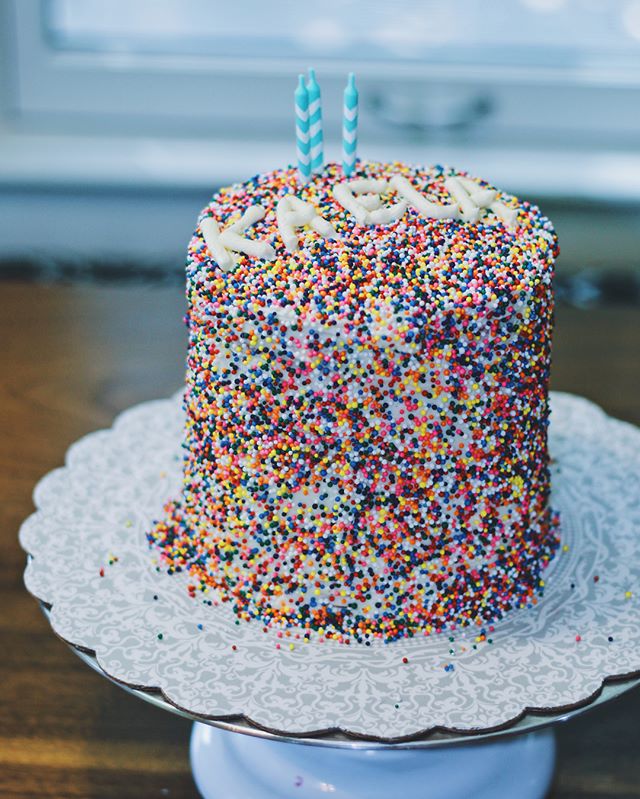
4. Decide if you want a crumb coat. Have you ever iced a cake only to find your frosting littered with crumbs? I used to assume that good cake decorators possessed secret cake-whispering powers because somehow their cakes never got crumbs in the frosting. As it turns out, they were just doing a crumb coat! All it involves is covering the cake in the thinnest-possible layer of frosting and refrigerating it solid putting on the final coat. It only takes around 15-20 minutes in the fridge and it works like a primer to lock in all the crumbs. When you frost the cake on top of that, nothing get mixed in. If you don’t have extra time for this, you can work around it if you use a lot of buttercream and your cakes are frozen thoroughly.
5. Don’t stress. Nobody expects your cake to look like it came out of Magnolia Bakery. Relax! It’s supposed to be fun. Say it with me: “This is fun, I am having fun”. It can be hard to decide when to stop putting on finishing touches. At a certain point, you’ll be doing more harm than good — stop before you get there!
Jeremy Scheck spent high school perfecting his signature cupcakes, making quiches and coffee cake by the dozen at a local bakery, and teaching cooking demonstrations at Williams-Sonoma. As a 10th grader in 2016, he began documenting his favorite recipes on a blog called The After School Bakery. In college, Jeremy learned to make 50 gallons of ice cream in the food science lab, how to prune grape vines in the teaching vineyard, the best way to milk a cow in Northern Italy, and why film photography is an art worth saving. As a sophomore in 2020, he traded blog photos for video and became a TikTok culinary sensation. Jeremy has been featured on the Today show, The Washington Post, Bloomberg, BBC Radio, People, and Access Hollywood, among others. Jeremy is a graduate of Cornell University with a double major in Spanish and Italian, and significant coursework in food science. He lives in Brooklyn, NY. Learn more about Jeremy.